Why Digitize Old Photos?
Old photos, often on paper or film, degrade from light, humidity, and handling—50% lose quality within 20-30 years. Digital conversion preserves them, creating backups resistant to physical loss. Formats like TIFF or DNG offer lossless storage, ideal for historians or genealogists. SEO benefits include targeting “preserve vintage photos digitally” searches, as optimized content ranks higher for niche audiences.
Digitization also enables sharing via cloud storage or social platforms, with metadata adding context—e.g., dates or locations—boosting discoverability.
Step-by-Step Conversion Process
1. Preparation
Clean photos gently with a soft brush to remove dust. Handle by edges to avoid fingerprints. For fragile items, consult a conservator first.
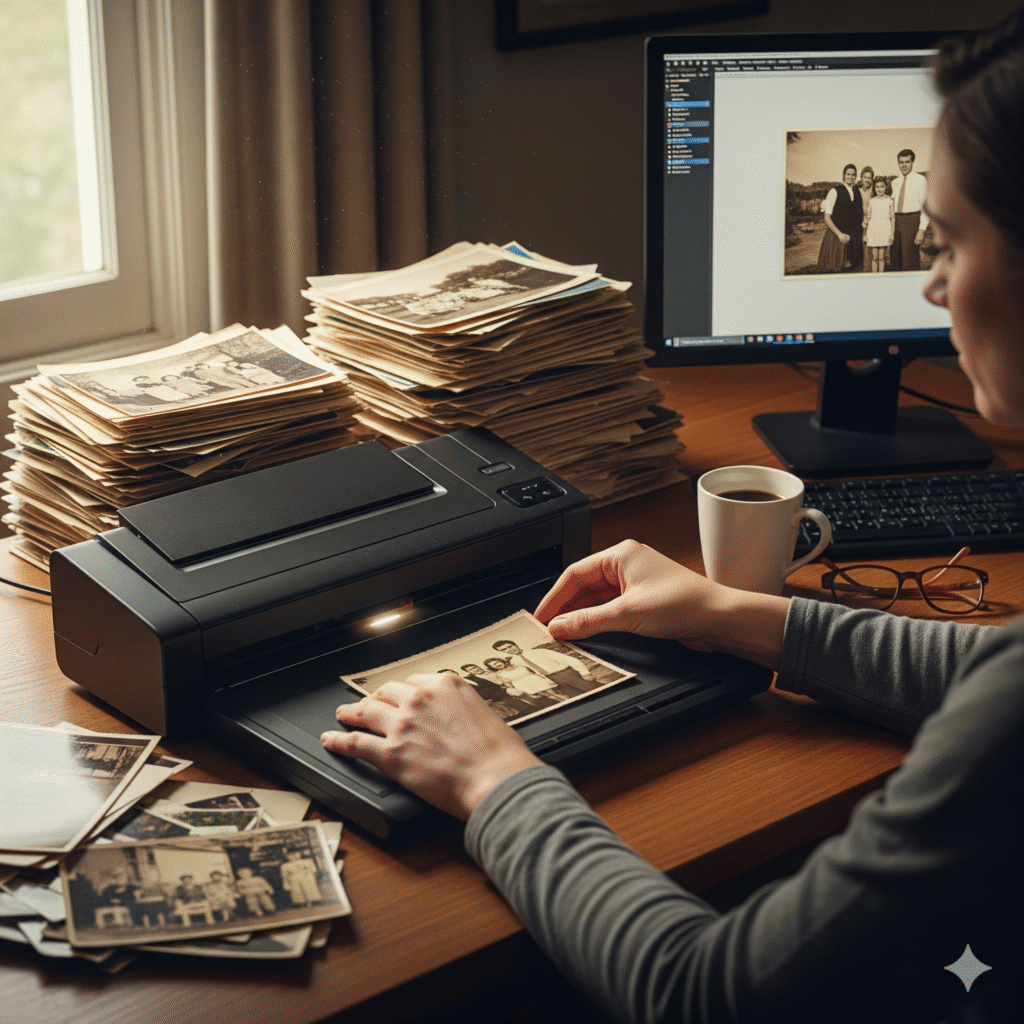
2. Scanning
Use a flatbed scanner with at least 300 DPI for standard quality, or 600 DPI for fine details on negatives. Place photos face-down, aligning edges. Batch scanning saves time for large collections.
3. Conversion with Tools
Upload scanned files to your image converter website. Select high-quality output: TIFF for archival (lossless, 10-20MB per image) or JPEG for smaller sizes (under 5MB with 80% quality). Adjust color correction to restore faded tones, using auto-enhance features.
4. Editing and Enhancement
Use software like GIMP or Adobe Photoshop to remove scratches or adjust contrast. AI tools in 2025, like Topaz Gigapixel, upscale low-res scans, recovering details lost to time. Save originals before editing.
5. Storage and Backup
Export to cloud services (Google Drive, iCloud) or external drives. Add metadata (e.g., EXIF tags for dates) via batch tools. Duplicate copies across locations to mitigate data loss.
Choosing the Right Format and Resolution
TIFF is the gold standard for archiving, preserving all data without compression. DNG, a raw format, suits professionals for future-proofing. For sharing, convert to WebP (30% smaller than JPEG) or PNG for transparency in overlays. Aim for 300-1200 DPI based on photo condition—higher for negatives, lower for prints. Test outputs visually to avoid pixelation.
Advanced Tips for Quality Preservation
Handle color fading with ICC profiles, converting to sRGB for web consistency. For film, use slide scanners or digitize with a DSLR and macro lens, then convert via software. Avoid over-compression; maintain 90% quality for critical details. Use OCR tools on photo backs with notes, indexing them for “digital photo archiving software” searches.
Tools and Best Practices
Your image converter website simplifies batch processing: upload, enhance, and download. Pair with scanners like Epson Perfection or mobile apps like PhotoScan for portability. Store in climate-controlled conditions post-scan to prevent further damage.
Pitfalls include improper lighting during scanning (causing glare) or skipping metadata, reducing searchability. Regularly audit digital archives for corruption.
SEO and Long-Term Benefits
Optimized file names (e.g., “convert-old-photos-to-digital-2025.webp”) and alt text like “how to digitize vintage photos for archiving” enhance image search rankings.